
If you are unfamiliar with what a Taxonomy is you should read this first:
http://pods.io/docs/learn/what-are-custom-taxonomies/
In this tutorial I will be using Pods to create the custom taxonomy, you can find their documentation on creating a custom taxonomy here:
http://pods.io/docs/build/how-to-create-a-custom-taxonomy/
Install Pods
First you need to install the Pods plugin. This is available from the WordPress plugins directory, just search for Pods from your WordPress installation, or you can download it from here:
https://wordpress.org/plugins/pods/
Add New Pod
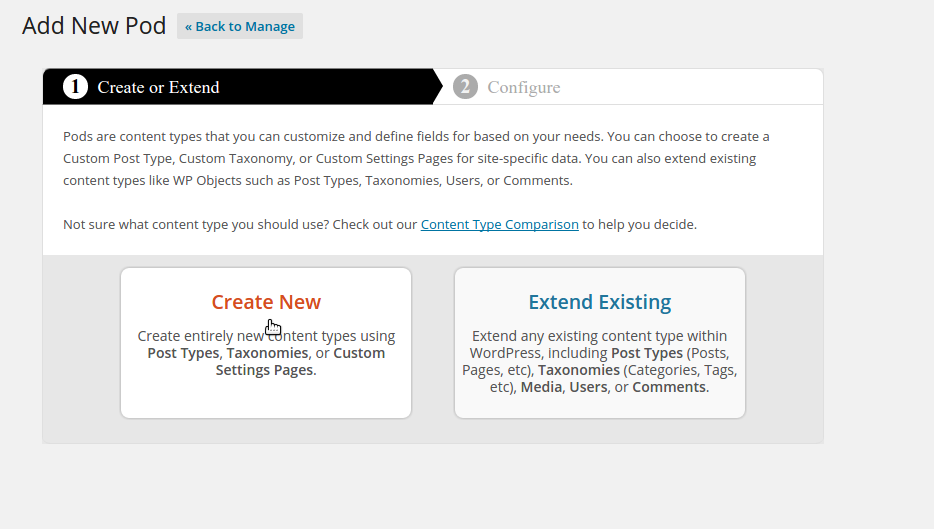
From the new Pods Admin menu that was added to your WordPress site, click on the Add New link. This will show a page similar to this image:
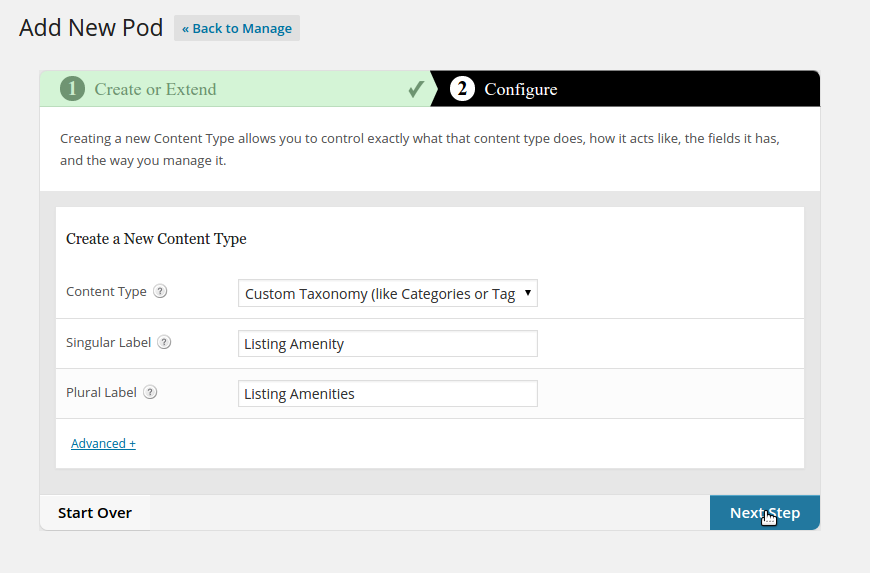
You will then need to select Custom Taxonomy from the Content Type dropdown, and then fill in the Singular and Plural Label.
Once you do this, click on the Next button.
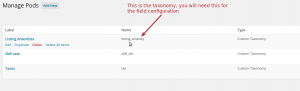 The singular term will be used as the taxonomy which you will need in the field configuration. This will be the singular label all lowercase, with an underscore _ used if there are any spaces. So in this instance the taxonomy will be listing_amenity. You can find this after creating or editing the new custom taxonomy from the Manage Pods screen.
Configure Advanced Options
Now that you have created a new custom taxonomy, we need to associate it with the post type so it shows up in the admin section (Job, Resume, Listing, etc).
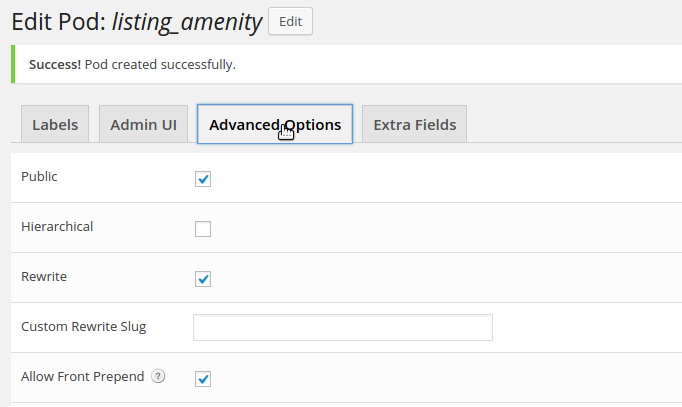
Click on the Advanced Options tab to go to the advanced configuration.
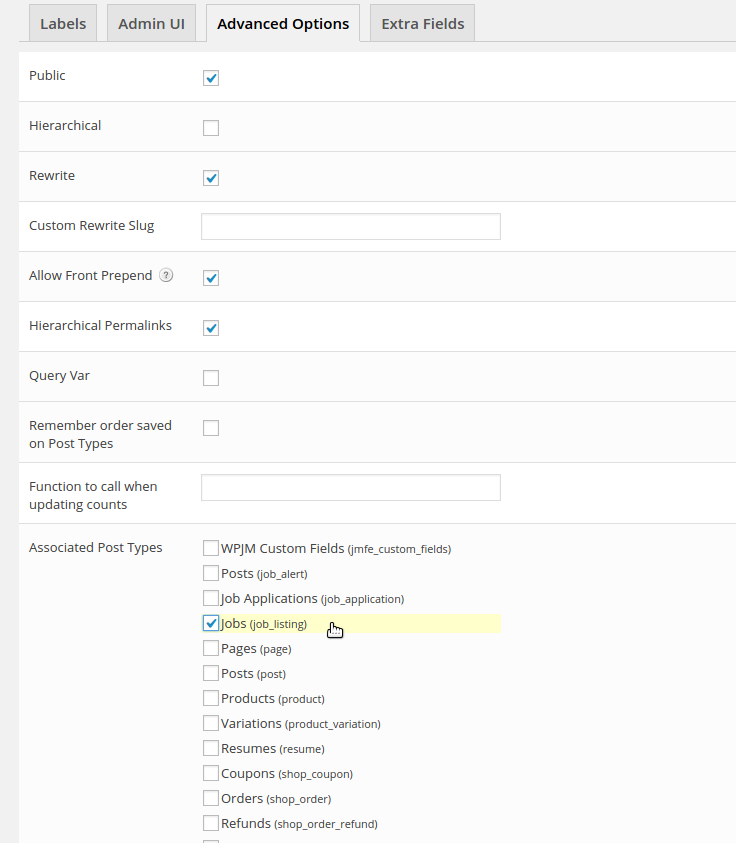
At the bottom you will see where it says Associated Post Types, this is where you will select any post types you will be using this taxonomy for.
 If you’re going to use this for Job Listings (or if using Listify or any other standard Listing theme) you would want to select the associated post type (Listify theme you will use job_listing).
If creating this for Resumes you would select that post type (not job)
That’s all you need to do for this configuration, click on Save and you should now see a new menu item under the post type you selected for your new custom taxonomy
Gutenberg Support
If you’re using the Gutenberg editor (not the Classic Editor, the one that is full screen), you MUST also enable REST API when configuring the Pod itself, otherwise it will not show up in the admin UI.
Add New Taxonomy Options
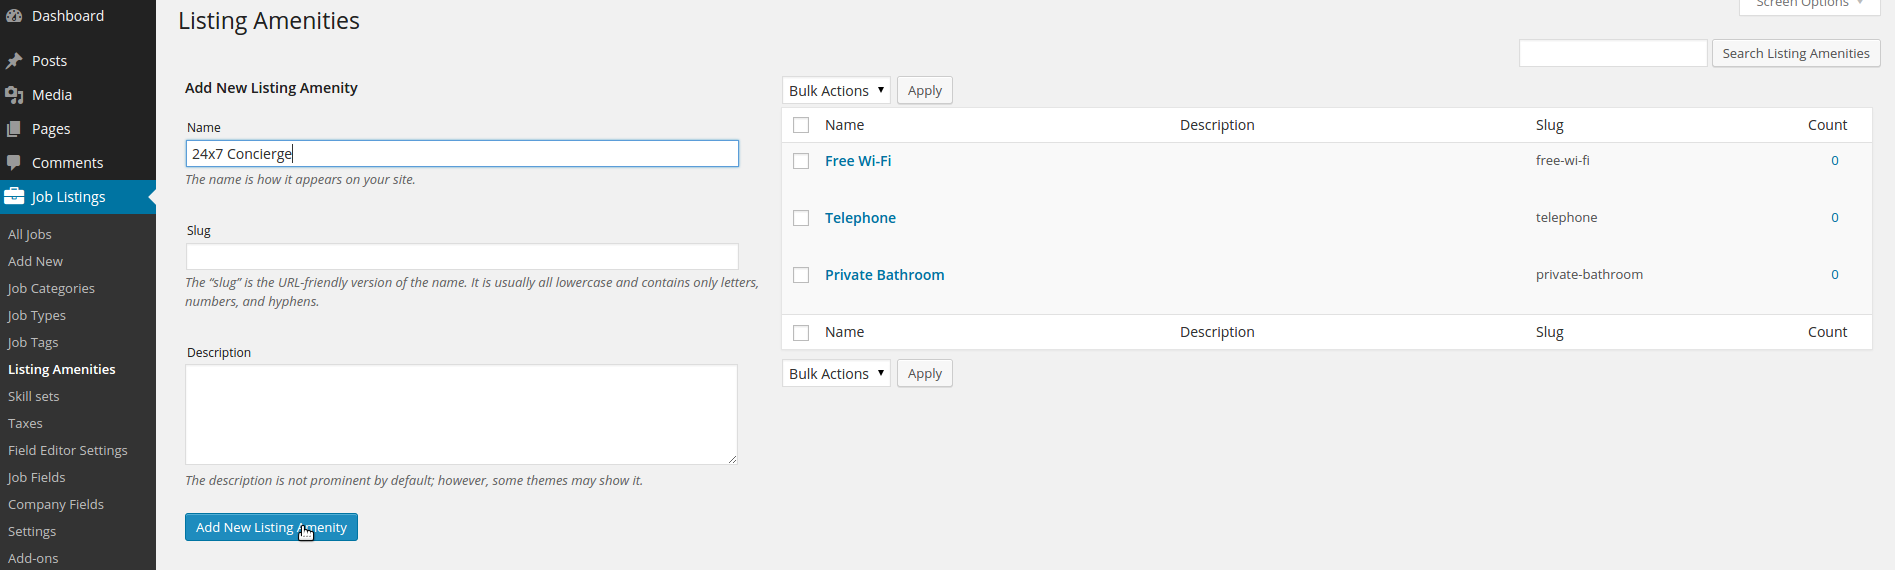
If you click on the link in the menu, it will bring you to another page where you can add all the options you want available for the user to select. The core of WordPress sorts these alphabetically in the dropdown/checklist or whatever taxonomy field you decide to use to output on the submit listing page, so it doesn’t matter what order you add them in.
Create a New Taxonomy Field
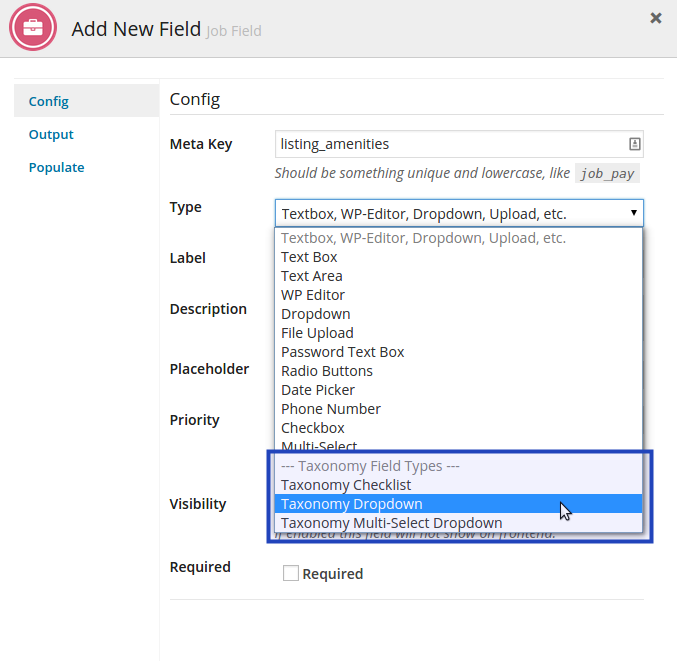

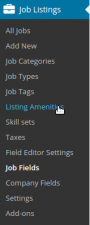
Head on over to the listing fields page and add a new field.
You will now be able to use any of the Taxonomy Field Types.
Go ahead and configure the field how you want it, just make sure that in the field Taxonomy you must use the taxonomy as described in the first step from above.
If you do not use the correct Taxonomy you will not be able to save the field and it will give you an error.
You can find the taxonomy name in the Manage Pods page as described at the top of the tutorial.
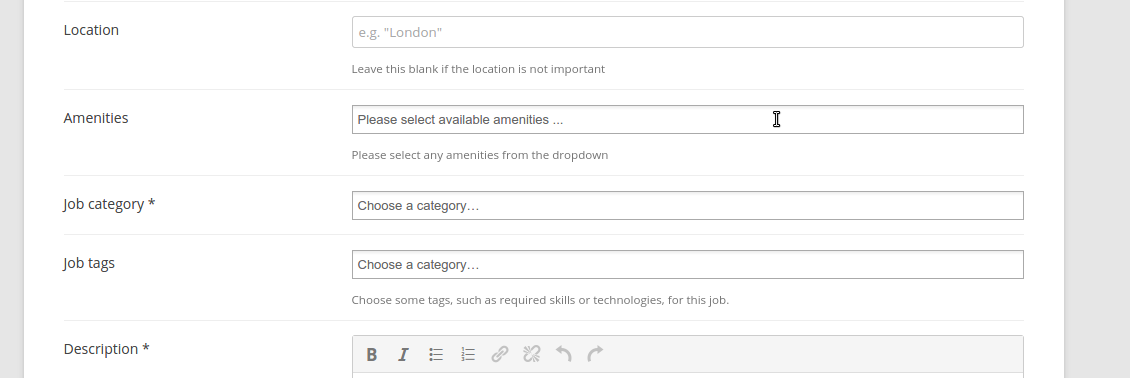
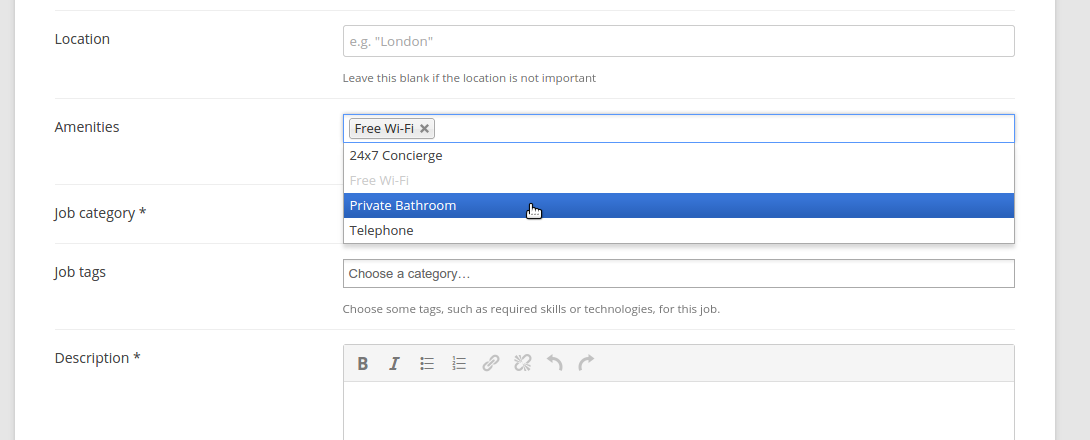
Profit!
Now go ahead and check out the frontend of your site, and enjoy your brand new custom taxonomy field!
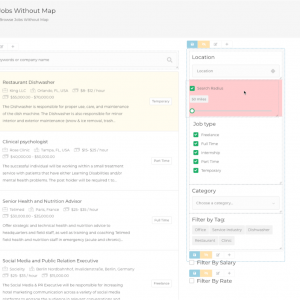 Search and Filtering for WP Job Manager
 WP Job Manager Field Editor