
WP Job Manager Field Editor Job Settings
There may come a time where you want to customize the label next to fields that tell the website visitor if the field is Required or Optional, and it just so happens you can do that with WP Job Manager Field Editor.
By default WP Job Manager puts a (optional) label next to any fields that are not set as required. Not only can you customize this label, but if you would rather have a label next to the required fields instead of the optional ones, you can do that as well.
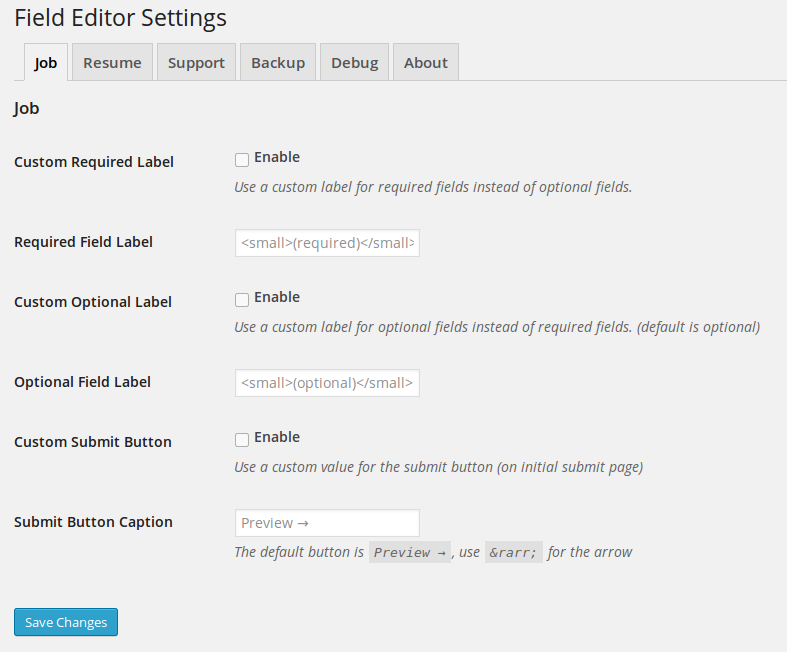
The configuration can be found in the Field Editor Settings that will be under the Listings menu item (normally Job menu).
Set custom Optional label
Customize Optional Label
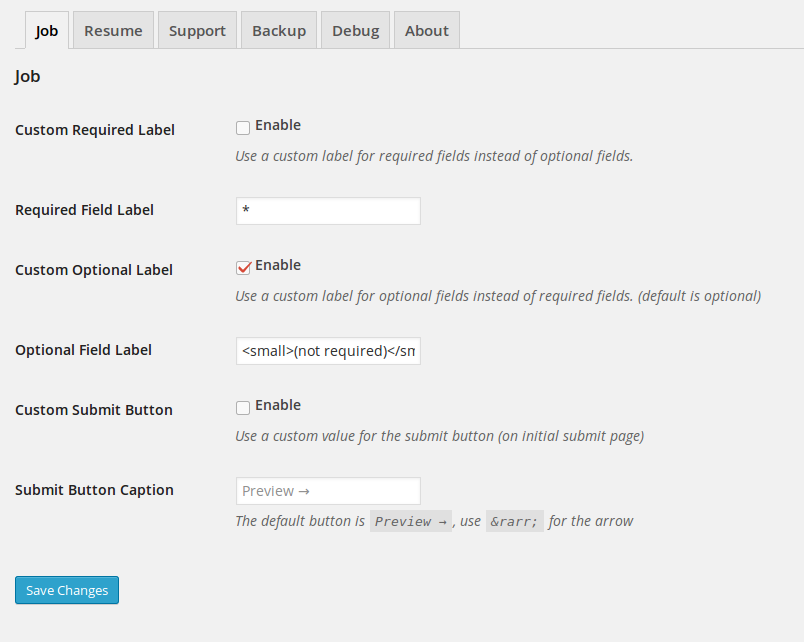
If you want to customize the Optional label you can do so by checking the enable box as you can see in the screenshot, and then specifying what you want the label to be in the textbox below it. You can use basic HTML.
By default WP Job Manager normally wraps the label in `<small>` HTML tags
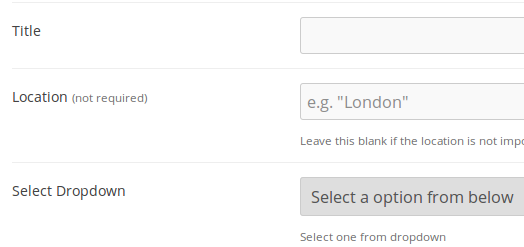
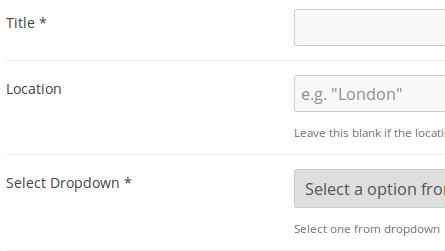
The output would then look like the image below:
Field Editor Custom Required Label
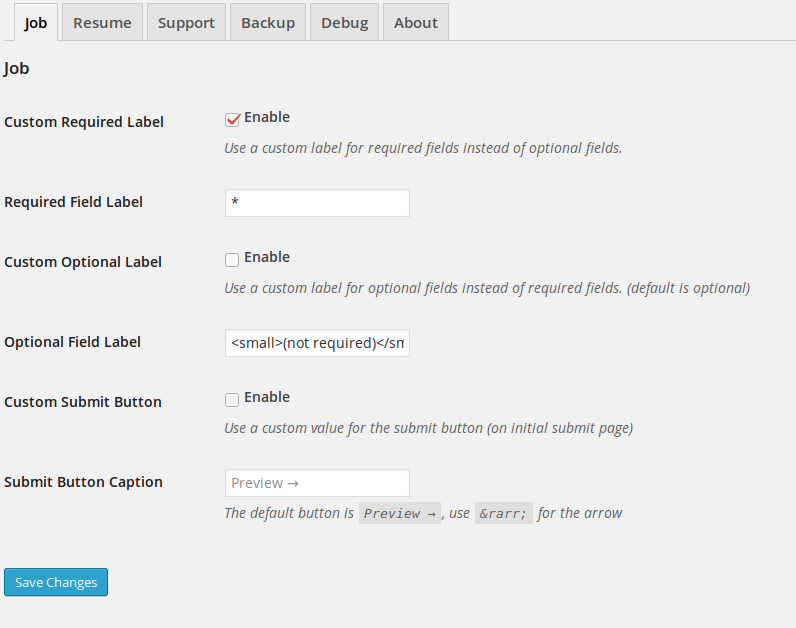
Customize Required Label
By default WP Job Manager does not add a label to required fields, but WP Job Manager Field Editor will allow you to do so and you can customize them exactly like the optional fields.
Only Required or Optional can be used, you can not use both.
Just like the optional label, HTML is allowed and you will then see an output similar to this:
 WP Job Manager Field Editor
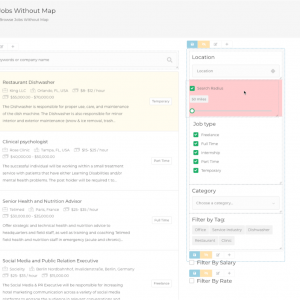 Search and Filtering for WP Job Manager