
When creating the WP Job Manager Field Editor plugin I specifically did not include any CSS and this was done to keep the plugin as bloat free as possible, as well as to be compatible with as many themes as possible. This ultimately leaves it up to your theme to handle the styling of the form fields, but there may be situations where you want to have 2 columns instead of a single column for the fields (which is the most commonly used). Below I will go through some examples of how to add your own custom CSS to create a two column submit listing page.
Turn this:

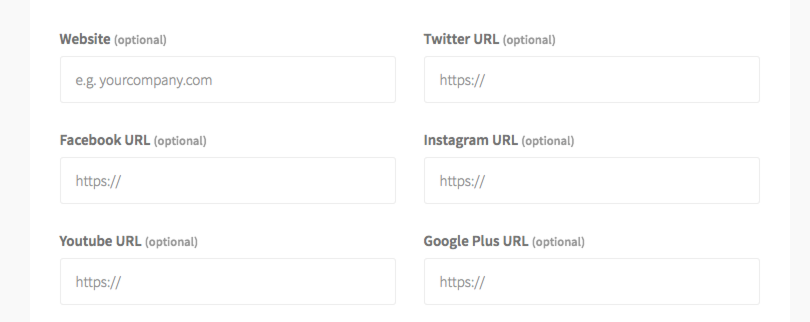
Into this:
Preface
I created this guide strictly for references purposes to get you started in the right direction. This is not something that is supported, and you should contact your theme developers for any specific customizations you want. Customizations is not something included in the scope of any of my plugins, and as such, I can not provide support to customize themes. Again this tutorial is for informational purposes only, you will still probably have to tweak these settings to work correctly with your theme, but at least you have somewhere to start.
Creating Two Columns
To create the two columns in this tutorial I will be using CSS width and float. This should work with almost every theme, but I can not guarantee it, as all themes are different.
fieldset[class^="fieldset-"] {
    float: left;
    width: 48%;
}
 In the CSS above, we’re using float to make all fieldset HTML elements float left (so they will pull left), with a width of 48% (so we can use the remaining 4% for space between them in the middle). The CSS attribute selector used will apply these styles to ALL fieldset HTML elements that have a class that starts with a fieldset- … this will essential select fieldset-job_title fieldset-some_meta_key .. etc
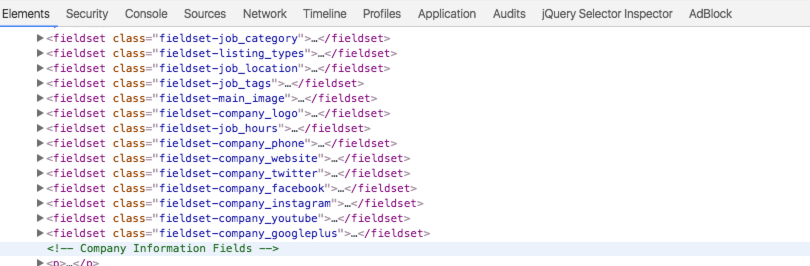
As you can see on the right, using developer tools you can set that all fields have a class that starts with fieldset-
Adding space between fields
We now want to add space between the two fields so they are not right on top of each other. To do this we will use the same type of CSS selector as above, with the exception this time of using the nth-child selector to only select the ODD fields (meaning first, third, fifth, and so on).
fieldset[class^="fieldset-"]:nth-child(odd) {
    margin-right: 4%;
}
As you can see above we’re setting the right margin to 4%, which is why we used a width of 48% above.
This should result in output similar to the image on the left. You will probably have to tweak and play around with the CSS to get all fields to look correctly, but this should get you started in the right direction.
Customizing Single Fields
You may want to customize specific fields to show full width, or with custom CSS. To do so it’s very easy as each field will have a class associated with the field’s meta key. For this example, let’s say we want the Listing Description field to be full (100% width) while leaving all the other fields to be 50%.
.fieldset-job_description {
    width: 100%;
}
As you can see, we just use a CSS class selector with .fieldset-METAKEY … replacing METAKEY with the meta key we want to modify, in the example above it would be job_description .
Voila! Profit!
Please note: support will not be provided for this tutorial as this tutorial covers customizations which is outside the scope of any of my plugins. This tutorial is for informational and educational purposes only.
 WP Job Manager Field Editor
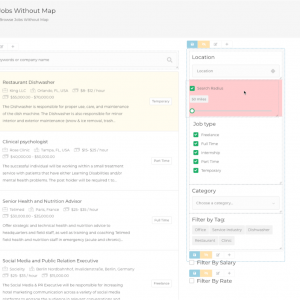 Search and Filtering for WP Job Manager